Cathedral Model Photogrammetry
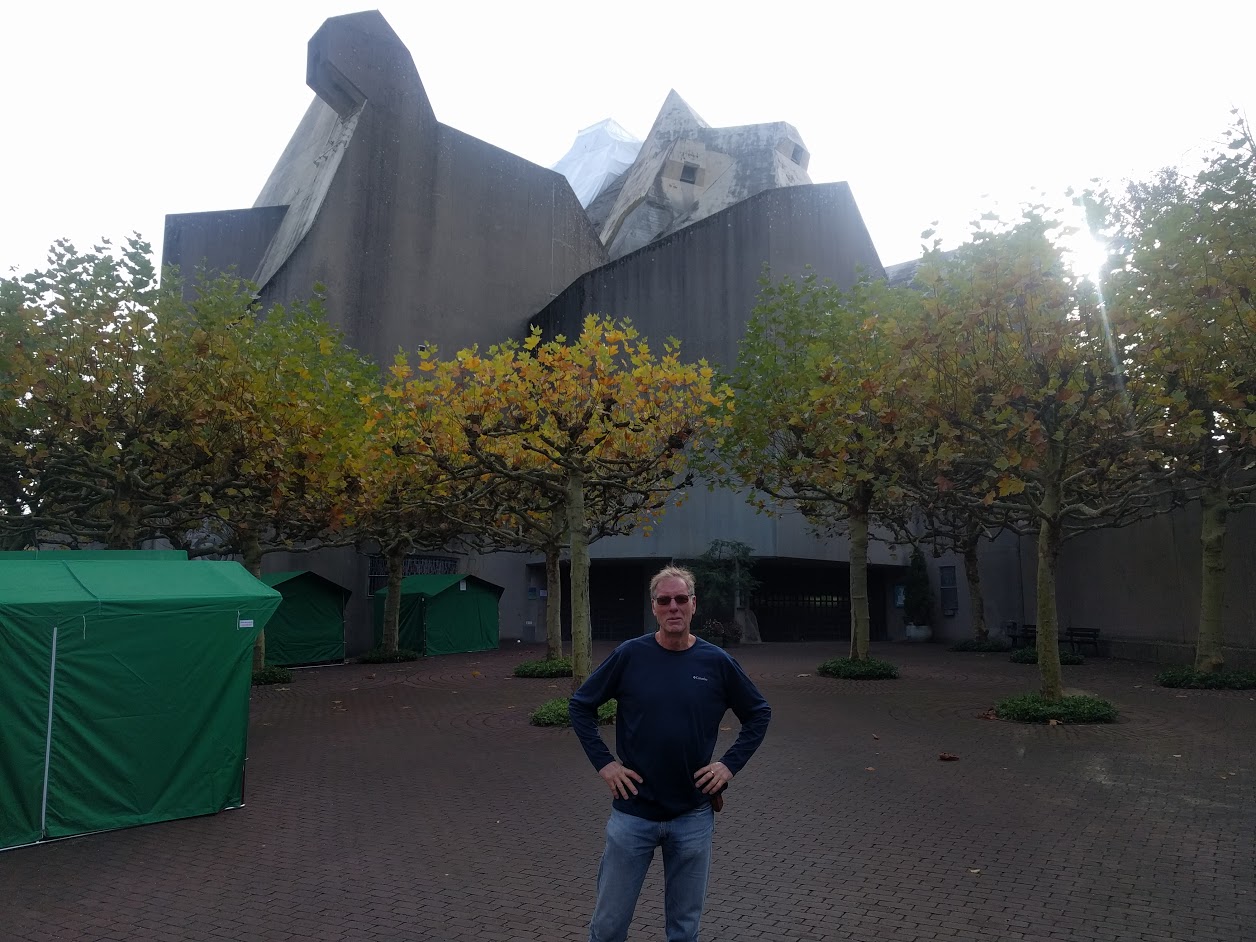
While visiting in Germany, my father and I went out for a bike ride around the towns near Essen. One of the towns that we checked out was Neviges. Within it you can find the Wallfahrtsdom (Pilgrimage Cathedral). This is one of the most interesting churches that I have seen. It has a very imposing presence, it is dark, very geometric and made entirely of concrete. It was built 50 years ago and holds 6,000 visitors.
Near this was a little model that showed what the building looked like in full. I examined this model and had the idea to take a video of it. I figured that it would be fun to build a 3D model of the church model.
This is one view of the church. As you can see it is quite imposing in the background.
With that, here is the reference video that I took. Its just a simple 27 second clip walking around the structure. These days it doesn’t take much to be able to build 3D models from images, honestly this video contained way more information than I really need in the end.
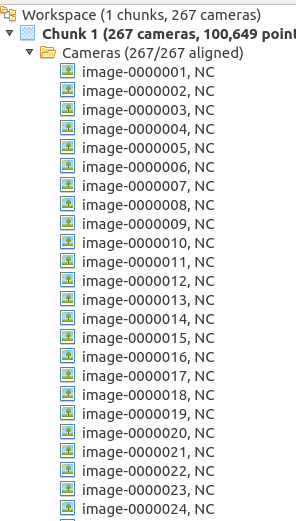
My first step was to break the video up into a bunch of reference photos. By running the following ffmpeg command, I was able to split the video into frames. The -r command specifies 10 frames per second which resulted in 267 images for me to work with.
|
This was the most complicated part of the process finished. From here I opened up a copy of Agisoft Photoscan and set to work processing the images.
First I created a new chunk to work with. Since this is a very simple object I really have no need for more than one. Under the chunk I imported all of the photos. The fact that this is a 3D scan and not a reference model for anything means that I don’t need to waste time setting up any reference points or sizes.
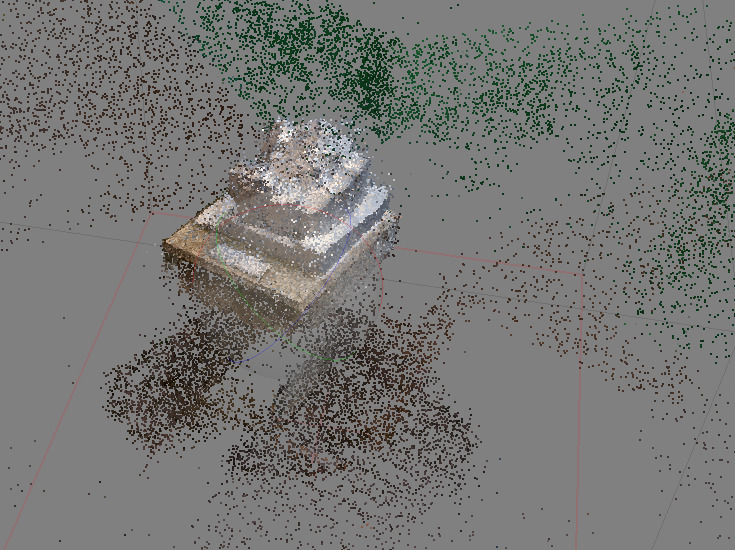
So I ran the photo alignment tool. Using the default setting and just letting it compute. The process took about 30 minutes on my computer. This calculated the position of all of the photos within the scene. It also generated a sparse cloud of tie points. These are all of the points that Agisoft found shared between the different pictures in 3D space. From here you can start to see the model take shape. This is a good sign.
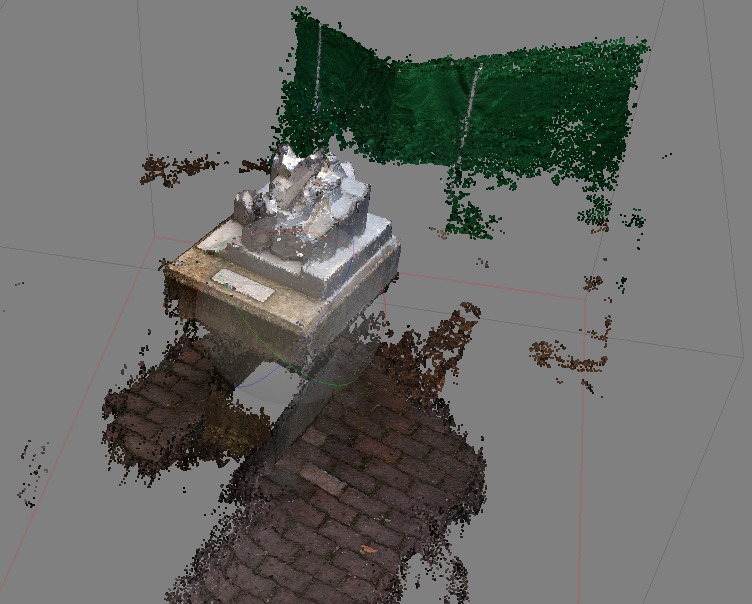
From the sparse point cloud I can now compute the dense point cloud. This contains much more detail about the actual object. Once again it took around 30 minutes to complete and resulted in a cloud that is now beginning to resemble the actual object. Now the object is there in plain view.
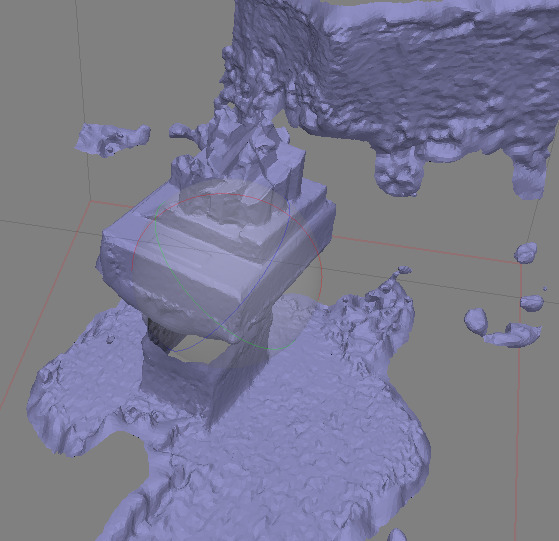
Here I can start to generate the actual 3D model. The results are untextured but I can get an idea for the quality of the final result. As you can see some of the sides are not as straight as the real thing but overall it has come quite close. Not bad for a quick phone camera video.
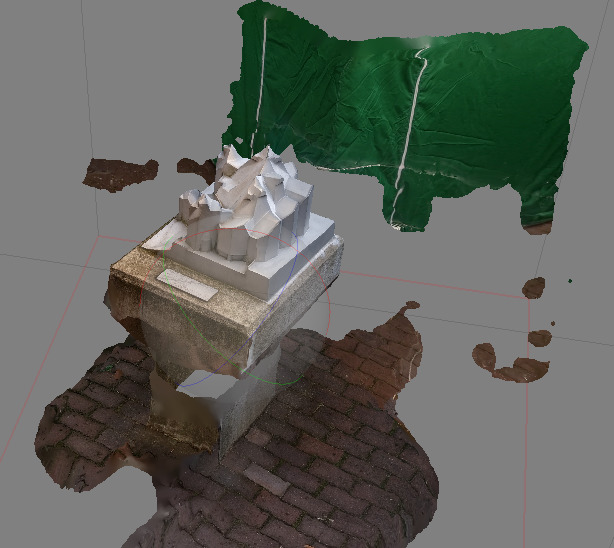
To finish it off I ran one final round of processing that calculated the texture for the 3D mesh. I have to say that the difference between the textured and untextured mesh was astounding. I really didn’t expect it to suddenly get so close to the original model.
Even though 3D photogrammetry is still a ongoing topic of research, I find the technology that is available to be incredibly good. Hopefully this sheds some light on how simple the process has become and maybe inspire some people to try it themselves.
Here is the final model. You can use your mouse to rotate and zoom to check it out in your browser!
This process is applicable to more than just simple models. You can use drone photography or landscape shots to generate models of much larger structures, or you can take close up shots and generate smaller models. The level of detail is based on the photo quality, the number of photos and the amount of processing time. You can also add additional information such as measurements to create a more accurate model. From there it can be used for a huge variety of applications such as: surveying, 3D assets for games/movies, references data, art, etc…
19/11/2018